You’ve brought together your top decision makers and your most innovative thinkers.
After weeks of wrangling, you’ve managed to get them all in the same room, at the same time. You’re ready to put them to work, to plan what needs to happen in the coming quarter to make it even better than the last. The time spent in this meeting is precious.
It should be an understatement that you want to make the best use of this time and gather as any insights as possible.
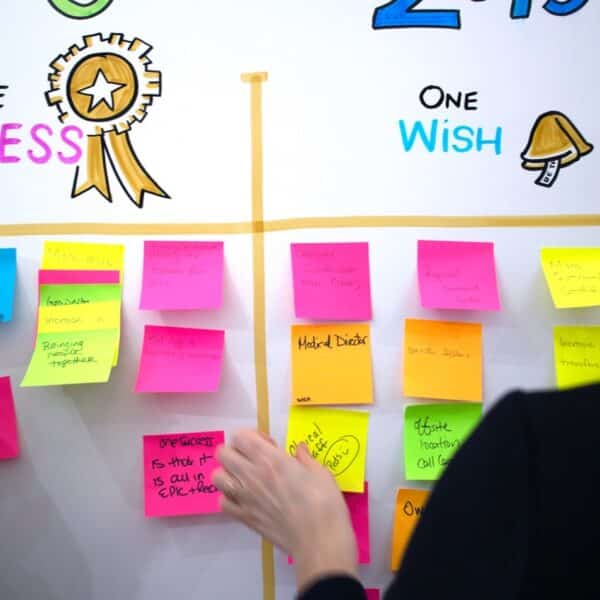
That’s why you brought a graphic recorder into the room: to ensure that vital-but sometimes fleeting-insights are captured, remembered and not overlooked.
Graphic recorders are experts at listening for and synthesizing the key points in your conversations. They’re visual strategists who know how to take complex information and turn it into intuitive imagery on the fly. But their work improves when you take a few moments to give them some background on your organization, your goals, and who’s in the room.
Here are some tips to get the most out of your collaboration with a graphic recorder.
1. Make Them a Part of the Day, and a Part of Your Team to activate productive meetings
Introduce your graphic recorder to your team at the beginning of the meeting, or have them introduce themselves and the value they’ll bring to the day. Rather than being confused by the person holding markers left of the speaker, your team will better understand the role the graphic recorder will play in their success.
Integrating your graphic recorder into your team will make their work even more valuable and effective. The graphic recorder will also have a greater opportunity to become a creative collaborator with your group.
2. Clarify Your Meeting Goals and Objectives
Beyond the flow of your agenda, take a few moments to give your graphic recorder your wishlist for the meeting’s outcome. Are you looking for a concrete set of next steps? A better understanding of where you are currently? Let your graphic recorder know what your meeting objectives are. You might be surprised at the way they can use graphic facilitation to move the conversation in the direction you’re hoping for.
3. Identify the Key Players
If they’re in the room, their voice is important, but there’s still a hierarchy to acknowledge. Beyond the facilitator, are there any key decision makers, stakeholders, or influencers that the graphic recorder should be aware of? Knowing who holds the final say in a discussion will help your graphic recorder better frame the information that’s captured and make visual note taking successful.
4. Give The Low Down On Group Dynamics
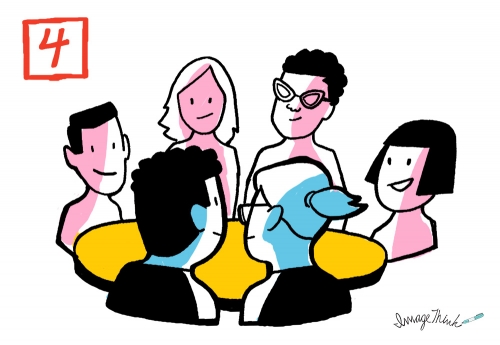
Does the group you’re working with go back for years, or is this the first time they are meeting? Do they have a great group chemistry and a solid rapport, bouncing naturally off one another’s energy, or do you expect some growing pains, tension, or aggravation between key decision makers?
Knowing a bit about your group’s dynamics and the tone you’re hoping to set can make your graphic recorder even more effective at using visuals to facilitate useful conversation.
5. Describe How the Boards Will Be Used After The Meeting
Are they going to hang in your office space? Will you share the digital images of the meeting with folks who weren’t able to attend the meeting? Your graphic recorder will want to make the boards as useful as possible, both during and after the meeting. Having a sense of where they will end up and how they will be used will give them a better idea of how to shape them to your unique needs.


